Saturday, 1 March 2014

Tanya Burr 'Aurora' Lip Gloss | Review

Hello my lovelies!

Sorry that I have been MIA for the past week, but I'm back and I've got a great post lined up for you!

By now you have probably already read my review of the Little Duck and Mini Marshmallow nail varnishes by Tanya Burr, and in that review I mentioned that I also purchased Aurora, which is a lip gloss from the range. And so today I am going to be reviewing it for you all!


Every lip gloss in this collection costs £6.99 and there are 12 stunning colours to choose from. The products were all named by Tanya and each one means something personal to her. The names range from her most special and treasured memories to her favourite Disney Princess, I think that having meanings behind the names is a wonderful touch and Tanya did a brilliant job at naming them.


I'm actually a big fan of the packaging for the lip glosses, it's simple yet effective. The packaging makes the product easily distinguishable as Tanya's and she has done a great job personalising it. On the packaging there is a beautiful picture of Tanya, with her signature beneath it.


The lip gloss itself also has quite a simple design but I feel it works really well, if there was any more writing or design on it I believe it would look cramped. The product's name is featured on the bottom of the gloss and like the nail varnishes in the range, they have a pink heart on the lid. Tanya's signature also features on the side of the glosses along with the Eye Candy logo, which is the company that helped Tanya develop the products.


As soon as I opened the lip gloss I was met with a delicious sweet smell which reminded me of fruit flavoured sweets. The scent is reasonably strong when applied to your lips but fades rather quickly (I personally love the smell but if you are not a big fan or dislike scented products you may need to keep this in mind!)


When I went to apply the lip gloss to my lips I noticed the applicator. It's so unique and I have never seen one like it in all my lip gloss-wearing days! It took me a while getting used to it but after a few applications I had mastered the technique. I have actually found that the applicator, as strange as it looks, makes applying lip gloss so much easier, and so much more accurate. Being a clumsy person, I do often end up applying some lip gloss to my teeth and/or I end up applying it slightly out of my lip-line but with this applicator I have found that it's stopped happening. I put it down to the shape of the applicator, its like a normal applicator but it has been curved inwards in the middle. It's actually really hard to explain so here's a picture:


When applied to your lips it stays for about 3 hours before you have to touch it up again, which I think is a decent amount of time for a lip gloss. Also it isn't very sticky, depending on how much you put on. (Unless you apply it to your wrist for a swatch, then it decides to stick to your arm and stains it. Only beauty bloggers walk around with lip gloss stains on their wrists I tell you!) But anyway it's designed to go on your lips so it doesn't matter if sticky when on your arm!

Another great aspect of Aurora is the taste. I'm not sure what it is but I know for certain it tastes a lot better than some lip glosses you get!


Aurora has an absolutely gorgeous pigmentation. It's a brightish pink with hints of sparkle and I just love it! I think the colour goes so well with my blue eyes and I think it's fit for a Disney princess!

The swatch seems to be more accurate than the photo of it on my lips, in real life the colour is darker and more vivid.


Overall I am extremely happy with this lipgloss and would definitely recommend it to everyone. Tanya should be very proud and I hope to see more products released from her in the future!If you would like to purchase this or any other lip gloss from the collection, click here.


I'm interested to know whether any of you have tried one of Tanya's products, if so what was it like?


Ps. Sorry about the change in lighting in some of the photo's, the British weather is very unpredictable.

Friday, 21 February 2014

Lambs! Lambs Everywhere!

Warning: this post contains adorableness galore and may result in a cuteness overload. Read on if you dare.

Hello my lovelies!

Recently I had the absolute pleasure of meeting and playing with some little lambs and so I decided to bring my trusty camera along and capture some of the action!

I also got to name a pair of twins that were born the day I visited, they were both girls and one was the tiniest most adorable thing you ever did see.This year the names all had to begin with P so I named them Pandora and Paisley, which I think suited them both perfectly!

(I'm sorry if some of the pictures are a little bit blurry, lambs move pretty fast)

Meet Pandora!
Hello Paisley!


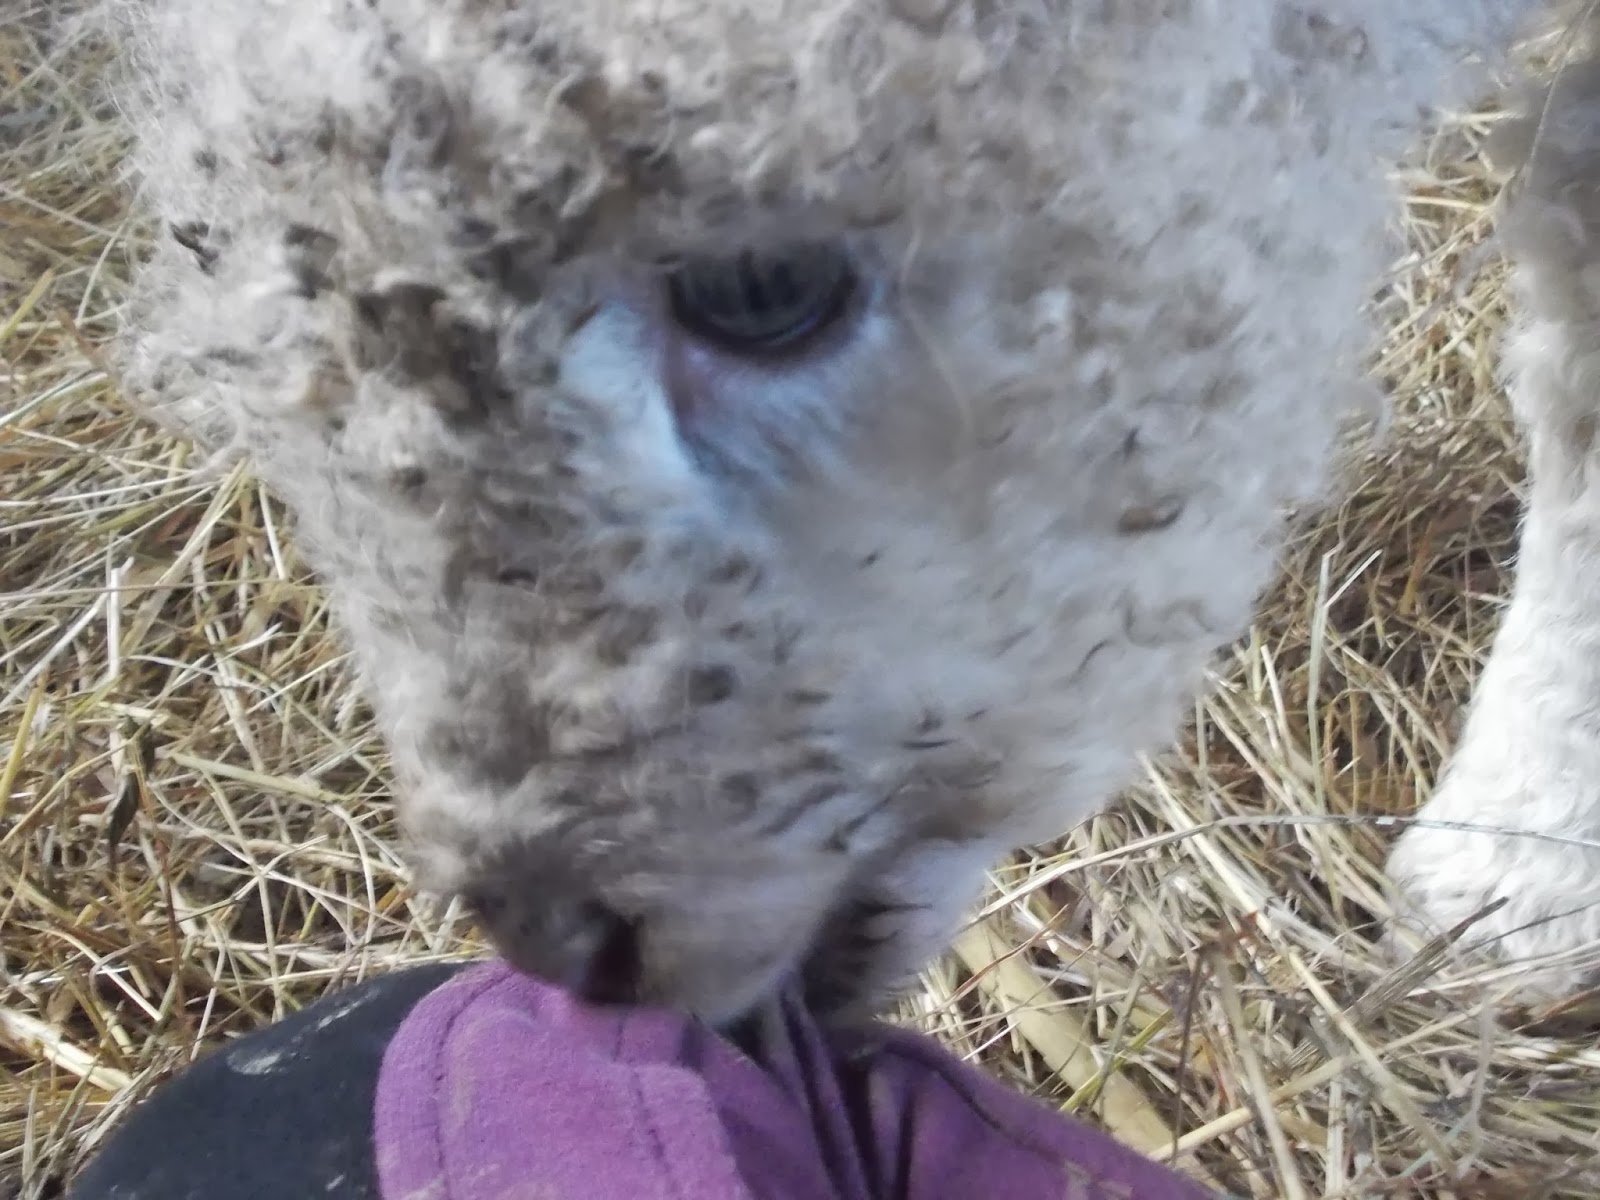
"Yum! This camera's tasty!"


*Wink*


"What are these?"


"This welly is tasty too!"


"What does this taste like?!"

"Do you like my bum?"

Om nom nom


"Time for bed!"


Monday, 17 February 2014

Tanya Burr Nails | Review

Hello my lovelies!


Package had just arrived!

If you haven't already heard, Tanya Burr has created and released her own make-up line of lip glosses and nail varnishes. I've been so excited for the release since she first announced it many months ago and as soon as the release on Feel Unique was announced I bought 3 products straight away, 2 nail varnishes and 1 lip gloss. (I will be reviewing the lip gloss I purchased in another post) Unfortunately my order was delayed and in the end took 13 days to arrive but I don't really mind because I have them now!

Love the packaging


Before I get into the review I would just like to give my congratulations to the amazing Tanya Burr. Releasing your own make-up line is a truly great achievement and I am so proud of her for everything! The products have turned out brilliant and I'm sure it's a dream come true for her. Well done Tanya! If you don't know who Tanya is, here are the links to her blog and her YouTube channel.

All three products

Nail Varnishes
All the nail varnishes in the collection are £5.99 and every single colour is gorgeous! It was so difficult not to put all of them in my basket, but in the end I chose these two beautiful colours, Mini Marshmallows and Little Duck:

Mini Marshmallow
Little Duck


I bought these two particular colours because ever since I started wearing nail varnish I've loved painting my nails in pastel shades. They always seem to compliment with my skin tone and always look amazing on my nails. Pastel shades are also quite subtle but yet stand out too which I love!

As both Little Duck and Mini Marshmallow are gorgeous pastel shades I couldn't not buy them!

Such gorgeous colours!
The first thing I noticed about these products is that they have Tanya's signature heart on their lids, which I think is a super cute touch! But unfortunately my Mini Marshmallow has a design flaw and so doesn't have the heart on the lid, although I don't really mind because it doesn't take away from the amazing quality of the product.


I'm actually very surprised about how high the quality of these nail varnishes are. I applied both colours to my nails on Wednesday and still there has not been a single chip. And that is not because I haven't been doing anything, I even went swimming for 2 hours on Saturday and still no chips!

Little Duck is amazing, it goes opaque with one coat and completely covers your nails! It has a beautiful pigmentation which I love and overall is a top notch product! Even though they are both gorgeous colours I think that Little Duck is my favourite!

Mini Marshmallow also has a beautiful pigmentation but to experience it in it's full glory you need to apply about 3 coats, this is as it is a very light colour compared to little duck. Mini marshmallow is also very 'liquidy'. So 'liquidy' that it becomes annoying to apply. It drips absolutely everywhere and so you have to make sure that you only have a tiny amount on the brush. 


I would definitely recommend both of these nail varnishes to everyone reading. And don't be put off by the long delivery because it's definitely worth the wait! If you would like to purchase any of the Tanya Burr Nail Varnishes just click here to go to the Feel Unique website.


Friday, 14 February 2014

Valentine's Cupcakes | Tutorial

Hello my lovelies!

Seeing as my first baking post did so well I thought that I would try my hand at making Valentine's cupcakes! If you're interested in making Valentine's cookies just click here

Ingredients
6 Cupcakes:
2 eggs (room temp) , 4 oz margarine, 1 tsp baking powder, 4 oz self
raising flour and 4 oz granulated sugar
Icing:
4 oz Icing sugar, 2 oz softened margarine, 1/4 tsp vanilla extract


Method


To make heart shaped Cupcakes I made cake moulds, I did this using tin foil and a heart shaped cookie cutter. You need to put the cutter in the middle of the foil and shape the foil around it, like so:


Next you need to put a cupcake case inside the foil mould and then place them inside a round cake tin with the pointed ends in the middle. (this is so when baking the pressure of the rising cakes will not cause the mould to misshape)


Preheat your oven to: 180°C electric
                                160°C fan
                                Gas mark 4

Now it's time for making the cupcake mixture. Weigh out all of the ingredients (listed above) and then put them into a bowl. Mix thoroughly until the mixture is smooth. Now you need to carefully spoon it into the cupcake cases, using approximately a generous tablespoon of mixture.

Place the tin in the centre of the oven and bake for approx. 18 minutes, until the cakes have risen and are golden brown. To test if the cakes are baked pierce with a skewer and if it comes out clean i.e.. with no cake mixture on it, the cakes are cooked. Take the cupcakes out of the oven and leave them to cool.
Freshly baked cupcake!

After taking out the cupcakes and leaving them to cool, make the icing. As butter icing has only 3 ingredients, this bit's easy! Sieve the icing sugar into a bowl and add the margarine and vanilla extract. Beat the ingredients together until light and fluffy.

Cooled and ready to decorate!

Now, it's time for the icing. Put your butter icing into a piping bag and squeeze!


From here you can decorate however you please. But if you're looking for some inspiration, here are mine, along with the toppings I used:

Caramel Curls and Heart sweets (Morrisons)


Fresh Strawberries and Chocolate Sprinkles


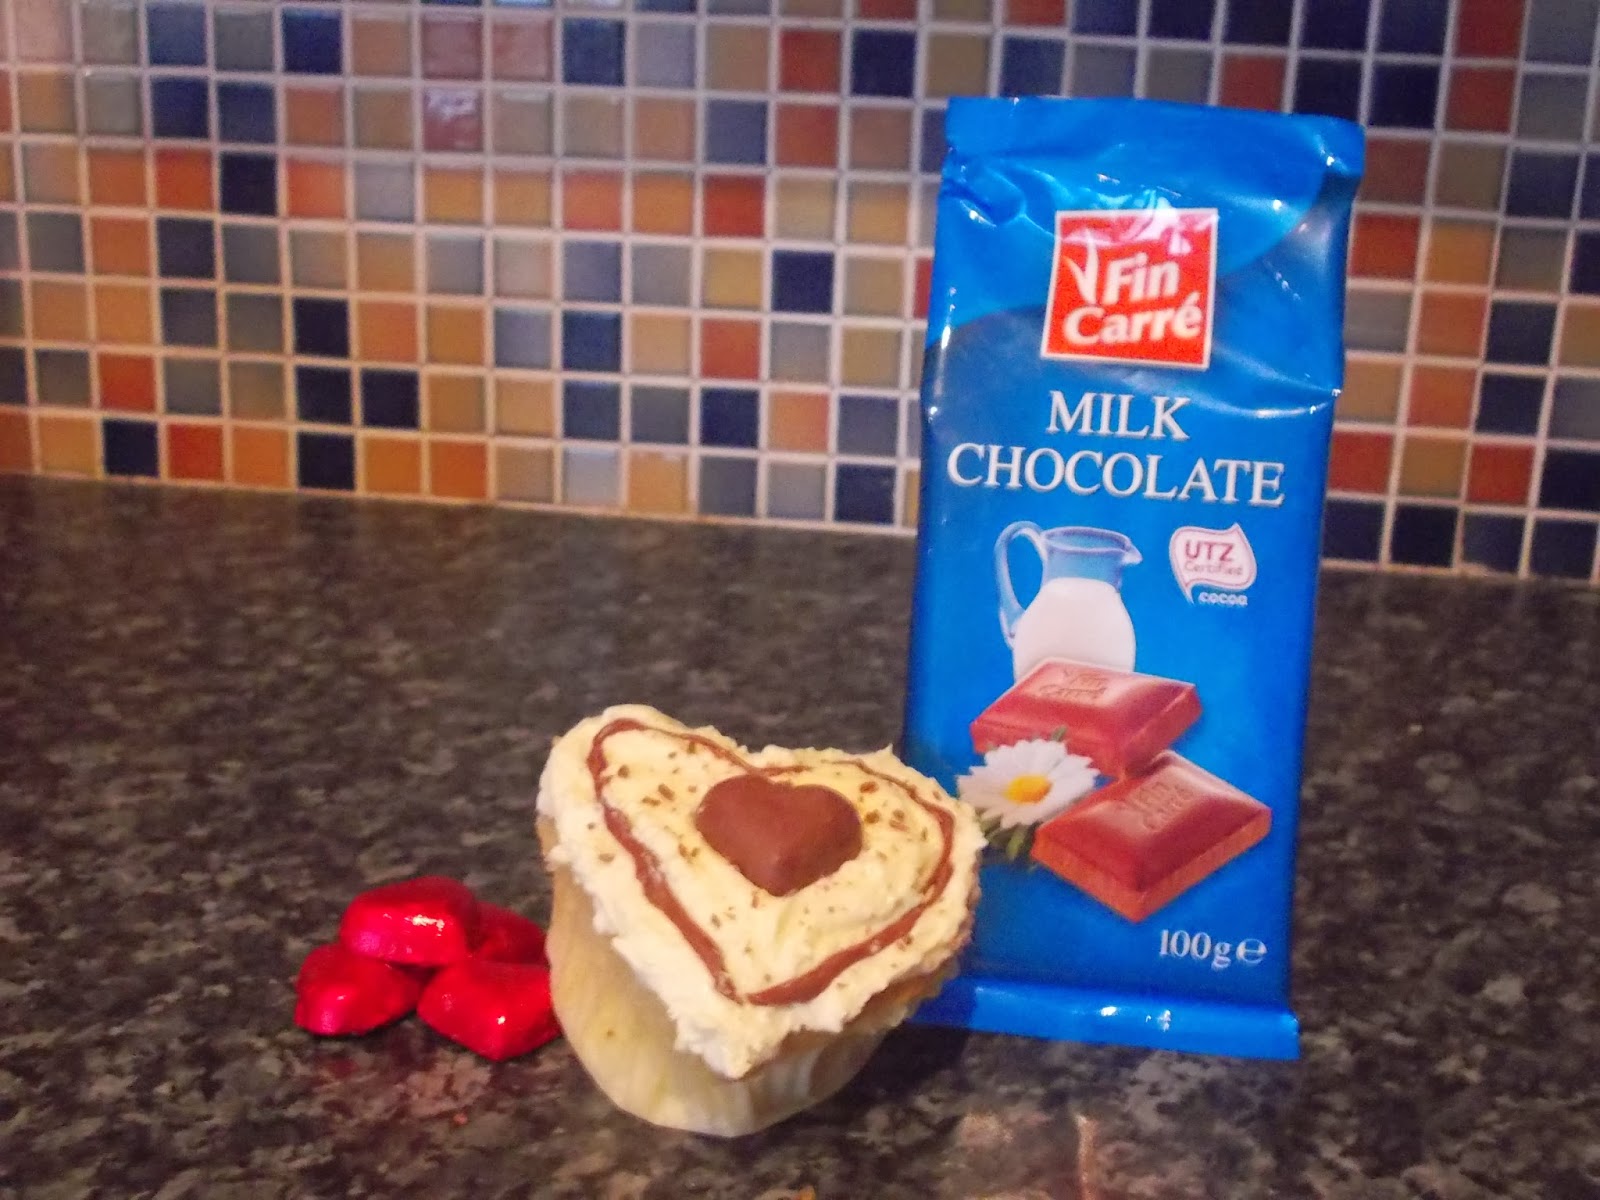
Chocolate hearts and Chocolate (Lidl)


For this last design I used melted chocolate to draw with. To do this you need to melt chocolate in a microwavable food bag placed in hot water. Keep the bag in the hot water until you can feel no lumps. Dry the outside of the bag off and cut a small hole in the corner of the bag with scissors.

Chocolate Hearts!
Cutting a hole in the side of the bag


Finished cupcakes! Yum!

Looking tasty!


Cupcake 1

Cupcake 2


Cupcake 3

Cupcake 4


I hope I brought you a sprinkle of joy
Love
Claire
x